
Introduction
Shotcrete—concrete or mortar conveyed through a hose and pneumatically projected at high velocity onto a surface—is widely used in mining, tunneling, marine construction, and structural repair. Its adaptability and strength make it ideal for challenging environments, but when exposed to extreme conditions—like aggressive chemicals, freeze-thaw cycles, saltwater, or high humidity—its performance can be compromised.
In harsh environments, ensuring shotcrete quality and durability isn’t just desirable—it’s critical. Failures in these conditions can lead to structural damage, safety risks, costly repairs, and downtime. To combat this, engineers, contractors, and project managers must implement best practices that ensure the material performs as intended throughout its lifecycle.
This blog dives into proven techniques and strategies for maintaining shotcrete integrity under harsh environmental stress. From proper material selection and mix design to application techniques and curing methods, we’ll guide you through everything you need to know to get durable, high-quality results—even in the most unforgiving settings.
Whether you’re working underground, underwater, or in extreme climates, these best practices will help you optimize your shotcrete for long-term performance and safety.
1. Understanding the Impact of Harsh Environments on Shotcrete
Before applying any solution, it’s important to understand the specific challenges shotcrete faces in harsh environments. These can include:
- Temperature Extremes: Freeze-thaw cycles can cause cracking and spalling.
- Chemical Exposure: Sulfates, chlorides, and acids deteriorate cementitious materials over time.
- Moisture Saturation: Prolonged exposure to water or high humidity leads to permeability issues and corrosion of reinforcement.
- Saltwater Environments: Chloride ions in saltwater accelerate corrosion in embedded steel.
- Abrasion: Environments like mining tunnels expose shotcrete to heavy wear and tear.
Each condition can compromise the bond, compressive strength, or protective capability of shotcrete if not addressed correctly during application.
2. Material Selection and Mix Design
The foundation of durable shotcrete is a well-designed mix. Consider the following:
High-Performance Cement and Pozzolans
- Use sulfate-resistant cement in chemically aggressive environments.
- Include supplementary cementitious materials (SCMs) such as silica fume, fly ash, or slag to improve durability, reduce permeability, and enhance strength.
- Silica fume, in particular, refines pore structure and increases density, which is crucial for water or chemical resistance.
Low Water-to-Cement Ratio (w/c)
- Aim for a w/c ratio of 0.35–0.45 for durability.
- Lower ratios reduce permeability and improve resistance to freeze-thaw and chemical attack.
Admixtures
- Accelerators: Especially important in cold climates or for overhead applications. Alkali-free accelerators reduce rebound and improve early strength.
- Air entraining agents: Critical for freeze-thaw resistance. They create tiny air pockets that relieve internal pressure.
- Corrosion inhibitors: Protect embedded steel from chloride attack in marine or de-icing salt exposure.
Aggregate Selection
- Use clean, hard, and well-graded aggregates. Avoid reactive aggregates that might contribute to alkali-silica reaction (ASR), especially in humid environments.
3. Pre-Construction Planning and Testing
Proper planning is key to performance. Follow these steps before spraying even begins:
Mock-Ups and Test Panels
- Create test panels to simulate real conditions and assess rebound, finish, and bond strength.
- Use core samples to verify compressive strength and density.
Pre-Construction Trial Mixes
- Conduct lab testing of proposed mix designs for workability, setting time, and durability indices such as permeability or freeze-thaw cycles.
Environmental Considerations
- Plan for ambient conditions: temperature, humidity, wind, and precipitation.
- Ensure materials are stored properly on-site, especially cement and admixtures, to avoid moisture contamination or degradation.
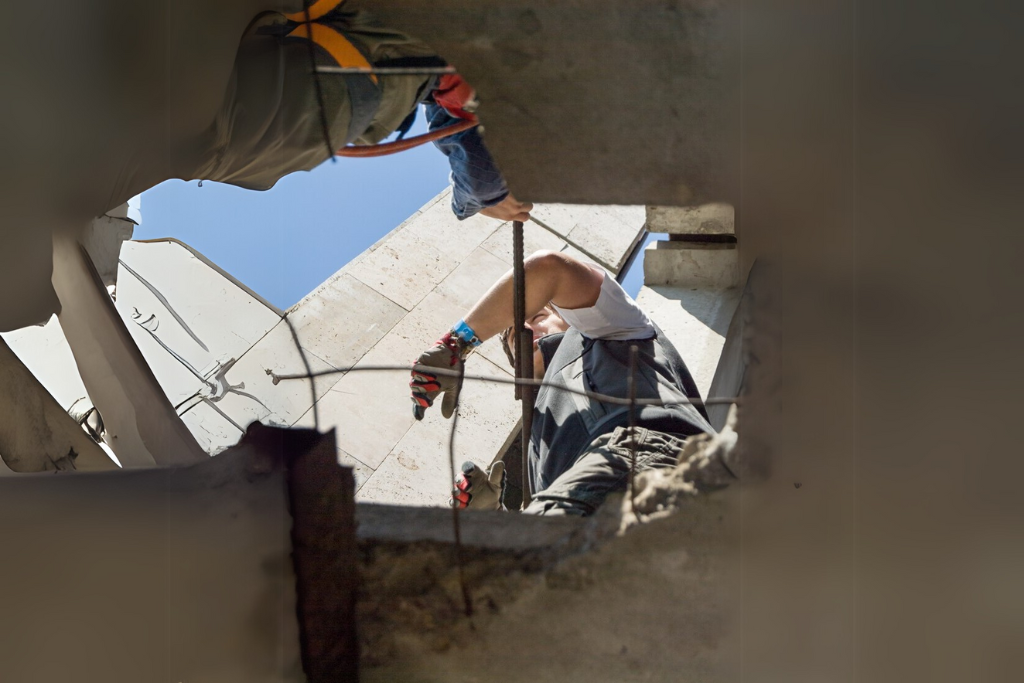
4. Application Best Practices
How shotcrete is applied makes a major difference in its long-term durability.
Surface Preparation
- Remove loose material, dust, and any existing coatings.
- Moisten substrate to prevent premature drying but avoid water pooling.
Nozzle Technique and Position
- Keep the nozzle at a consistent 90-degree angle to the surface.
- Maintain a distance of 1 to 2 meters to control rebound and compaction.
- Skilled nozzle operators significantly reduce rebound and voids.
Layer Thickness and Rebound Control
- Apply in thin layers for better adhesion in vertical or overhead applications.
- Avoid layering too thick, as it can lead to sloughing or unbonded layers.
- Minimize rebound and discard it—rebounded material lacks cement and fines, weakening the overall mix if reused.
Embedded Reinforcement
- Ensure rebar or mesh is rust-free and properly anchored.
- Use spacers to maintain cover and avoid “shadow zones” where shotcrete doesn’t fully encase reinforcement.
5. Curing and Post-Application Treatment
Curing is crucial for hydration and strength development, especially in harsh climates.
Moist Curing
- Keep the surface continuously moist for at least 7 days in normal conditions.
- In dry or windy conditions, use wet burlap and plastic sheeting or fog misting systems.
Curing Compounds
- Use only if moisture curing isn’t feasible and in environments not requiring future bonding.
- Avoid in tunnels or underground where airflow is minimal and high humidity persists.
Protection from Environmental Stress
- In cold climates, ensure shotcrete is protected from freezing for 24–48 hours after application.
- In hot climates, prevent rapid water loss through shading, wind barriers, or evaporation retarders.
6. Monitoring and Long-Term Maintenance
Even the best applications need monitoring in demanding conditions.
Inspection and Testing
- Conduct regular inspections for cracking, spalling, and delamination.
- Use non-destructive testing (NDT) like ultrasonic pulse velocity (UPV) or rebound hammers to assess in-place quality.
Crack Control
- Integrate control joints and reinforcements where necessary to manage expected movement.
- For sprayed linings in tunnels, monitor for convergence or ground movement over time.
Surface Sealers and Coatings
- In aggressive environments, consider applying breathable sealers to prevent water ingress while allowing vapor escape.
- For marine or chemically exposed structures, epoxy or polyurethane coatings add another layer of protection.
Conclusion:
Shotcrete is an incredibly versatile and efficient material, especially suited to difficult environments where formwork is impractical. But its success in harsh conditions—be it underground, underwater, or exposed to extreme temperatures—relies heavily on best practices at every stage: from mix design and application to curing and inspection.
By choosing the right materials, ensuring a skilled application, and maintaining rigorous quality control, you can create a shotcrete structure that not only survives but thrives in even the most demanding settings. Investing in these practices today means avoiding costly failures and repairs tomorrow—while delivering superior performance for years to come.
FAQs:
- What is the best type of cement for shotcrete in aggressive environments?
Sulfate-resistant Portland cement combined with silica fume or fly ash offers excellent durability in chemically harsh conditions. - How does shotcrete perform in freeze-thaw conditions?
When air-entrained and properly cured, shotcrete can resist freeze-thaw cycles by providing internal air pockets to relieve pressure. - Can rebound material be reused in the mix?
No. Rebound lacks proper cement and fines content and should always be discarded to ensure structural integrity. - What is the ideal curing time for shotcrete in extreme climates?
At least 7 days of moist curing is recommended, with additional protection in freezing or high-heat environments. - How often should shotcrete structures in harsh environments be inspected?
Visual inspections should be done annually, with more detailed assessments every 3–5 years depending on the exposure level.
